
This is a tutorial for continuous cross-grain binding that is machine-sewn to the front and hand-sewn to the back of the quilt.

1. To figure out how much binding fabric you will need, first measure the perimeter of your quilt. When you have that number, add 10 extra inches. Take that number and divide it by 44'' (the width of the fabric). This number is how many binding strips you will need, so ALWAYS round your number up. Times the number of strips by 2.5. The final number is how many inches of fabric you will need.
Example:
Our quilt measures 47" x 70".
47+47+70+70+10=244
244/44= 5.5, round to 6 strips
6 x 2.5=15'' of fabric, we bought 1/2 yd (18'')

2. Cut out your 2.5" strips.

3. Cut the selvages off of the strips.

4. Using a 1/4" seam allowance, sew ALL your strips together into one long strip.

5. Iron open all of the seams.

6a. Iron your binding in half, wrong-sides-together.

6b. (This is how the ironed binding should look.)

7. Now it's time to attach the binding to the FRONT of the quilt. For this step, you will need a walking foot. (This has an extra set of feed dogs to help feed the quilt through evenly). Leaving a tail of at least 6", start sewing on your binding with the raw edge toward the edges of the quilt.

8. Use a 1/4" seam allowance to sew the binding on to your quilt. (On our walking foot, we line the edge of the walking foot with the edge of the quilt.)

9. When you reach a corner, stop sewing and backstitch a 1/4" from the edge. (The picture above is showing the unsewn 1/4")

10. Fold your binding as shown above.

11. Fold your binding back down and start sewing at the top of the new folded down side. Be sure to backstitch.

Repeat steps 9-11 for all 4 corners.

12. At about 10" from reaching your starting point, stop and back stitch.

13. Lay your binding down flat, meeting in the middle halfway.

14. Cut your binding so that there is 1/4" on each side of the meeting point.

15. Open up your binding

16. Match right sides together and pin.

17. Sew, using a 1/4" seam allowance.

18. Make sure your binding isn't twisted

19. Lay it back down flat.

20. Back-stitch and sew the last section of your binding on

21. You are now done with machine-attatching your binding!

22. Hand-sew your binding to the back of your quilt, making sure the binding just barely covers up the machine stitching from the front.
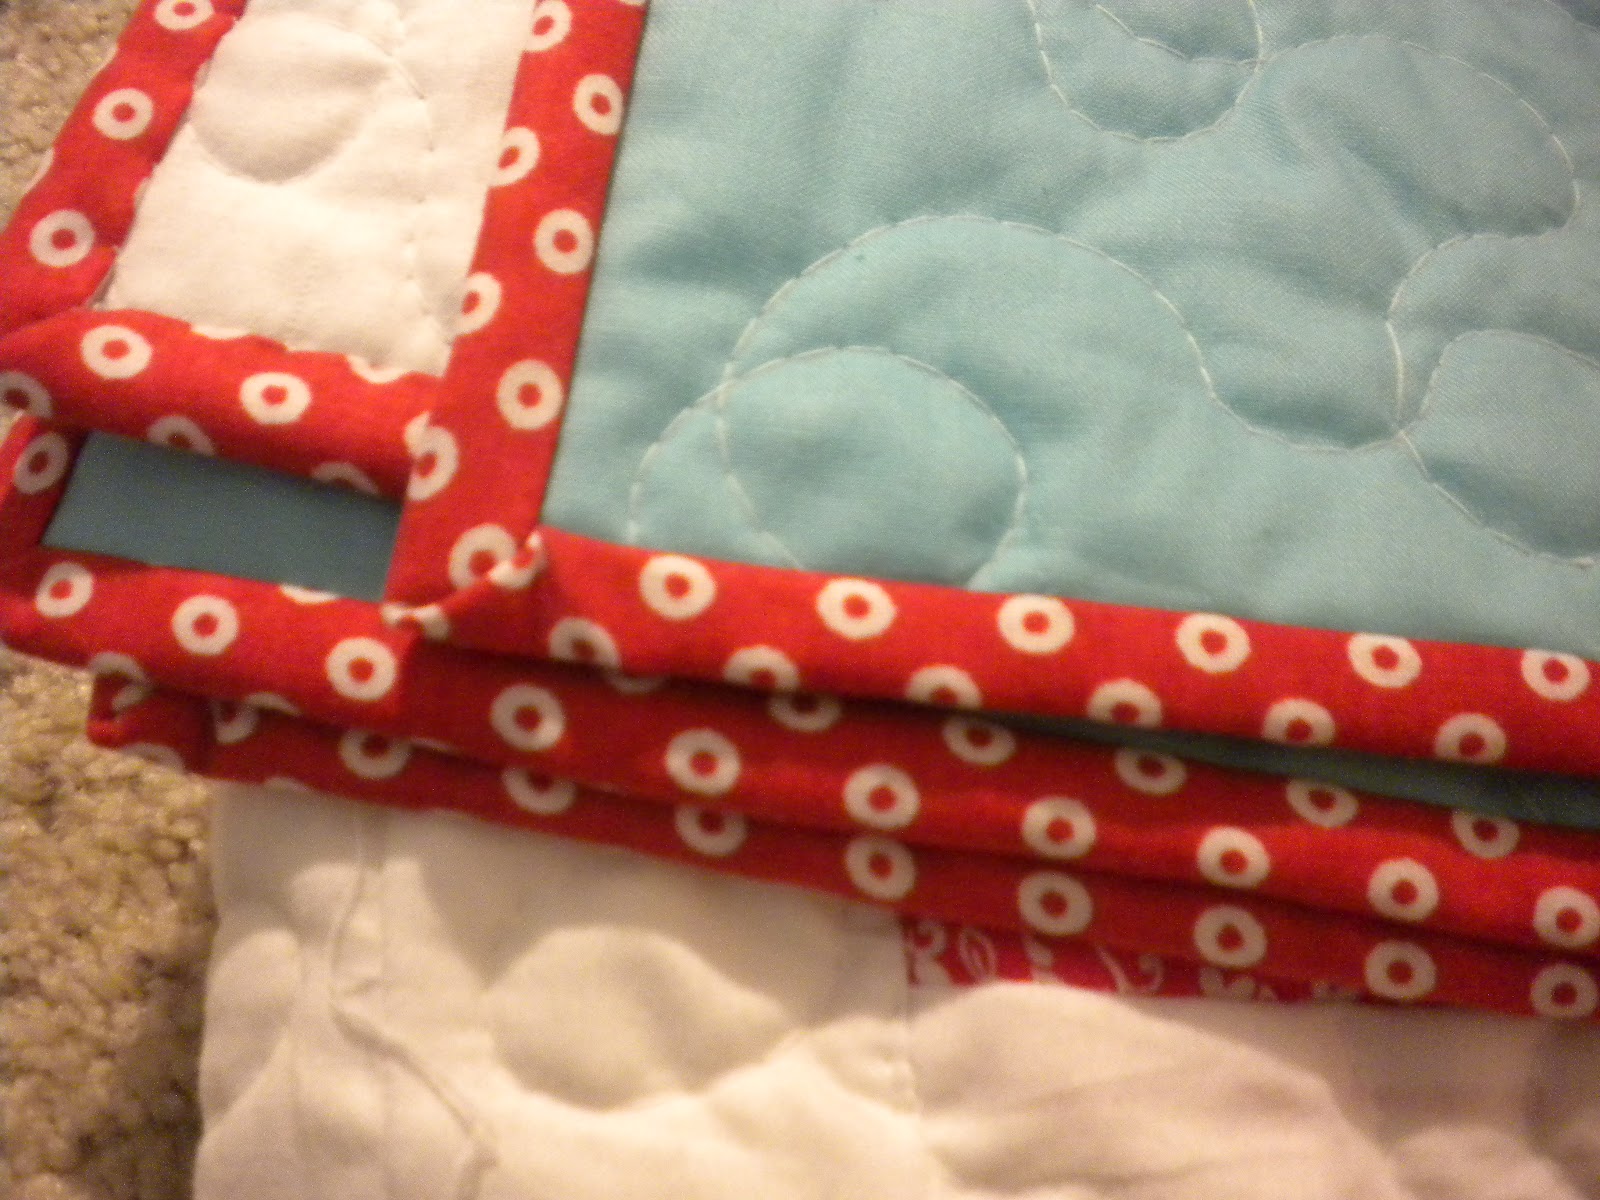
Congratulations! You are now done binding your quilt. Feel free to email us with any questions. Binding takes practice, so don't worry if it doesn't turn out the first time...or the second...or the third :)
No comments:
Post a Comment