

Cutting fabric can be scary, but with these simple tips, you'll be just fine...promise :) Just grab your rotary cutter, ruler, and rotary mat, and we'll get started!

A little note about rotary cutting supplies. First of all, we highly recommend that you purchase the gypsy gripper which suctions to your ruler and provides a handle for easy cutting. This makes cutting safer and you can apply pressure more easily.

Also, another thing to consider is where to place your rotary mat while cutting. We don't have a table and so we prefer cutting on the ground. We place a hard piece of wood under our mats so that the surface is stable. The important thing to remember is to ALWAYS cut on a flat, hard surface.

We learned the hard way that you ALWAYS use your rotary mat on a hard surface...not carpet ;) This is just one of many holes in our well loved mats.

As far as the actual rotary cutter goes, we have a Fiskars brand that works great. Make sure to change your blade out when it gets dull. A fresh blade always gives a nicer cut.

And lastly, remember to put your safety protector on your blade to avoid accidents. We know all about those :)

Now, let's begin cutting! The picture above shows fabric that just came from the fabric store. Nothing is matched up yet, that is our next step.


After lining up your selvages, your edge running along the grain of the fabric will probably be uneven. That's okay...we'll fix that in a minute :)


Grab your rotary ruler and line up the edge of the ruler as close as you can to the uneven edge of your fabric. Make sure to line up the lines of your ruler with the lines on your mat...this way you will cut at a 90 degree angle.

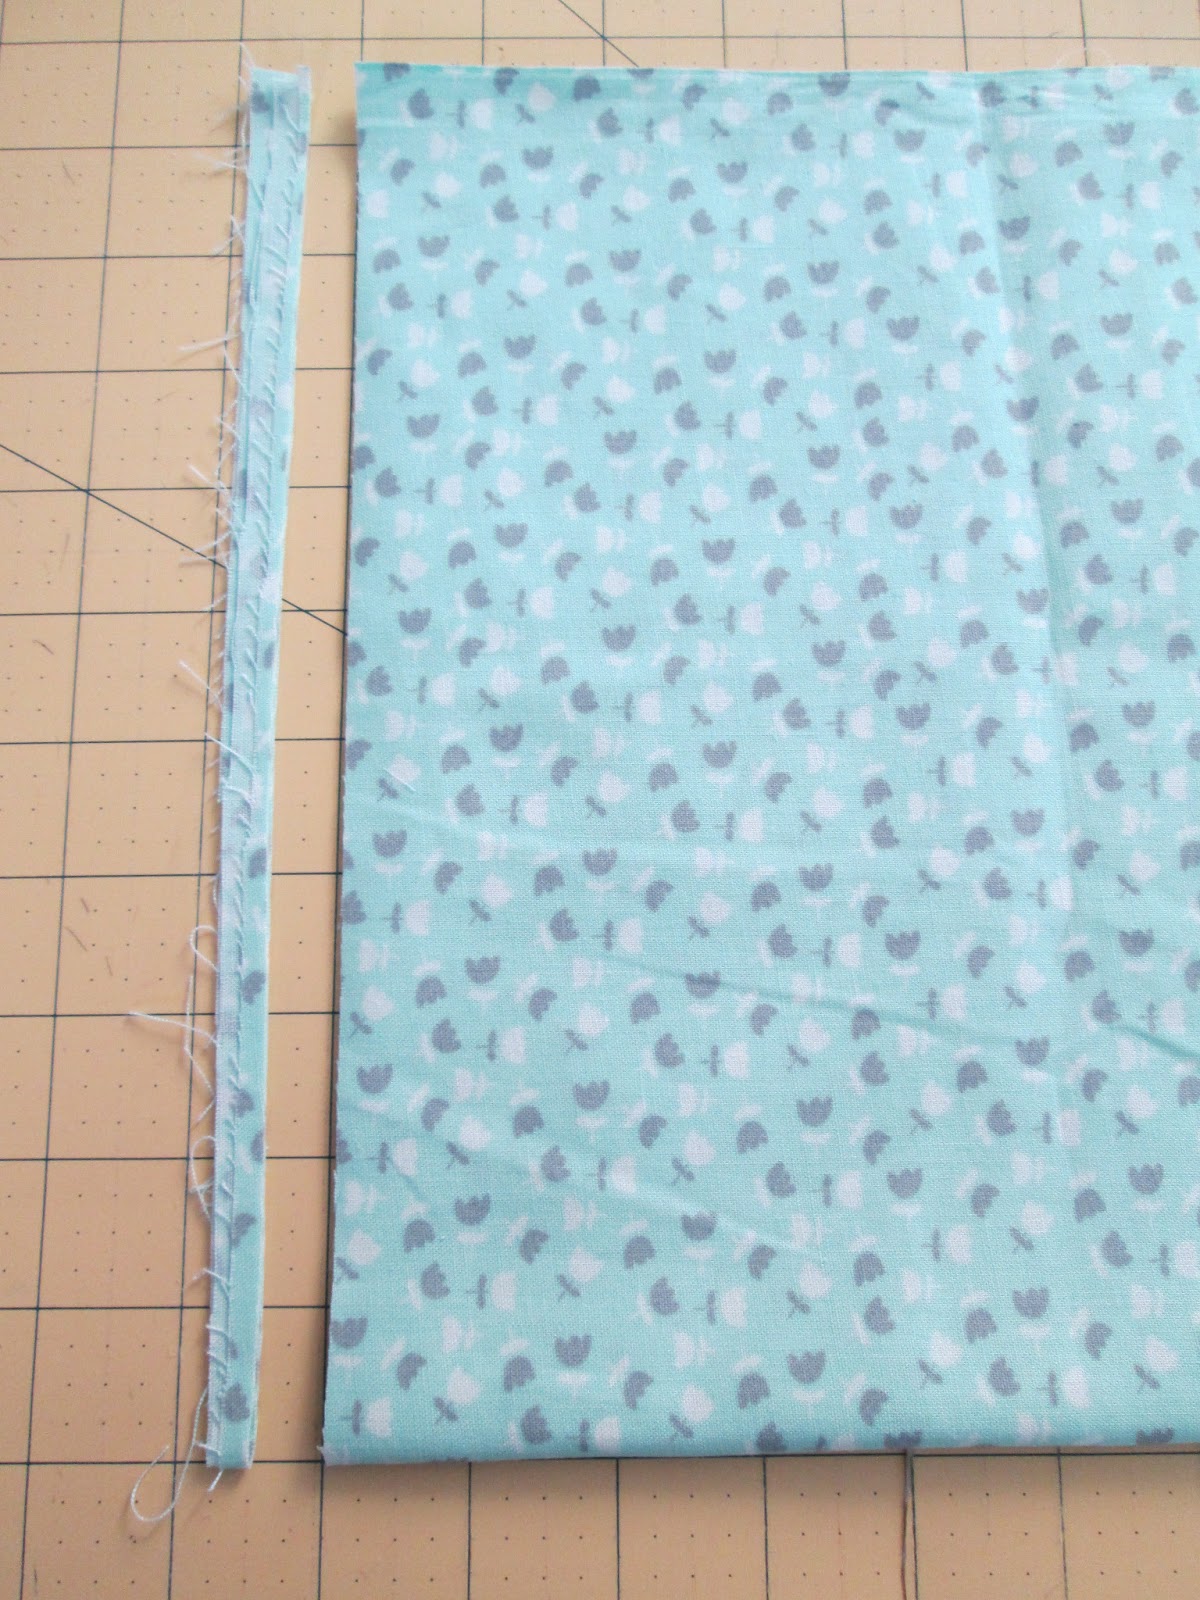
Tada! Your fabric should now be squared up!

For making strips, count the number of inches on your mat for what size of strip you need. (We are cutting a 5" strip.) Then line the edge of your ruler with your selected line on your mat. You may also use the inch marks on your ruler for cutting strips that are smaller than the width of your ruler.

Thanks for this information!
ReplyDeleteEsther
THIS WONDERFULLY MADE MACHINE WEIGHS 4 OUNCES AND HAS A BALANCED DESIGNED TO FLOW WITH THE WEIGHT OF THE TUBE, THUS GIVING AN OVERALL FEEL OF VIRTUAL WEIGHTLESSNESS.
ReplyDeleteRottery Die Cutting Machine
metalizing
lol, you've got just 1 mistake (but it's a big one). the grain runs PARALLEL to the selvage, not perpendicular the way you've shown. grain is determined by the warp threads when fabric is woven; the weft threads run across the grain.
ReplyDeletelol, you've got just 1 mistake (but it's a big one). the grain runs PARALLEL to the selvage, not perpendicular the way you've shown. grain is determined by the warp threads when fabric is woven; the weft threads run across the grain.
ReplyDeleteThanks for the tutorial makes it clearer.
ReplyDeleteThanks for the tutorial makes it clearer.
ReplyDelete